Repairing my bike bag
Jan. 17th, 2019 02:30 amTwo and a half months after tearing a hole in my Ortlieb bike bag, I've finally repaired it.
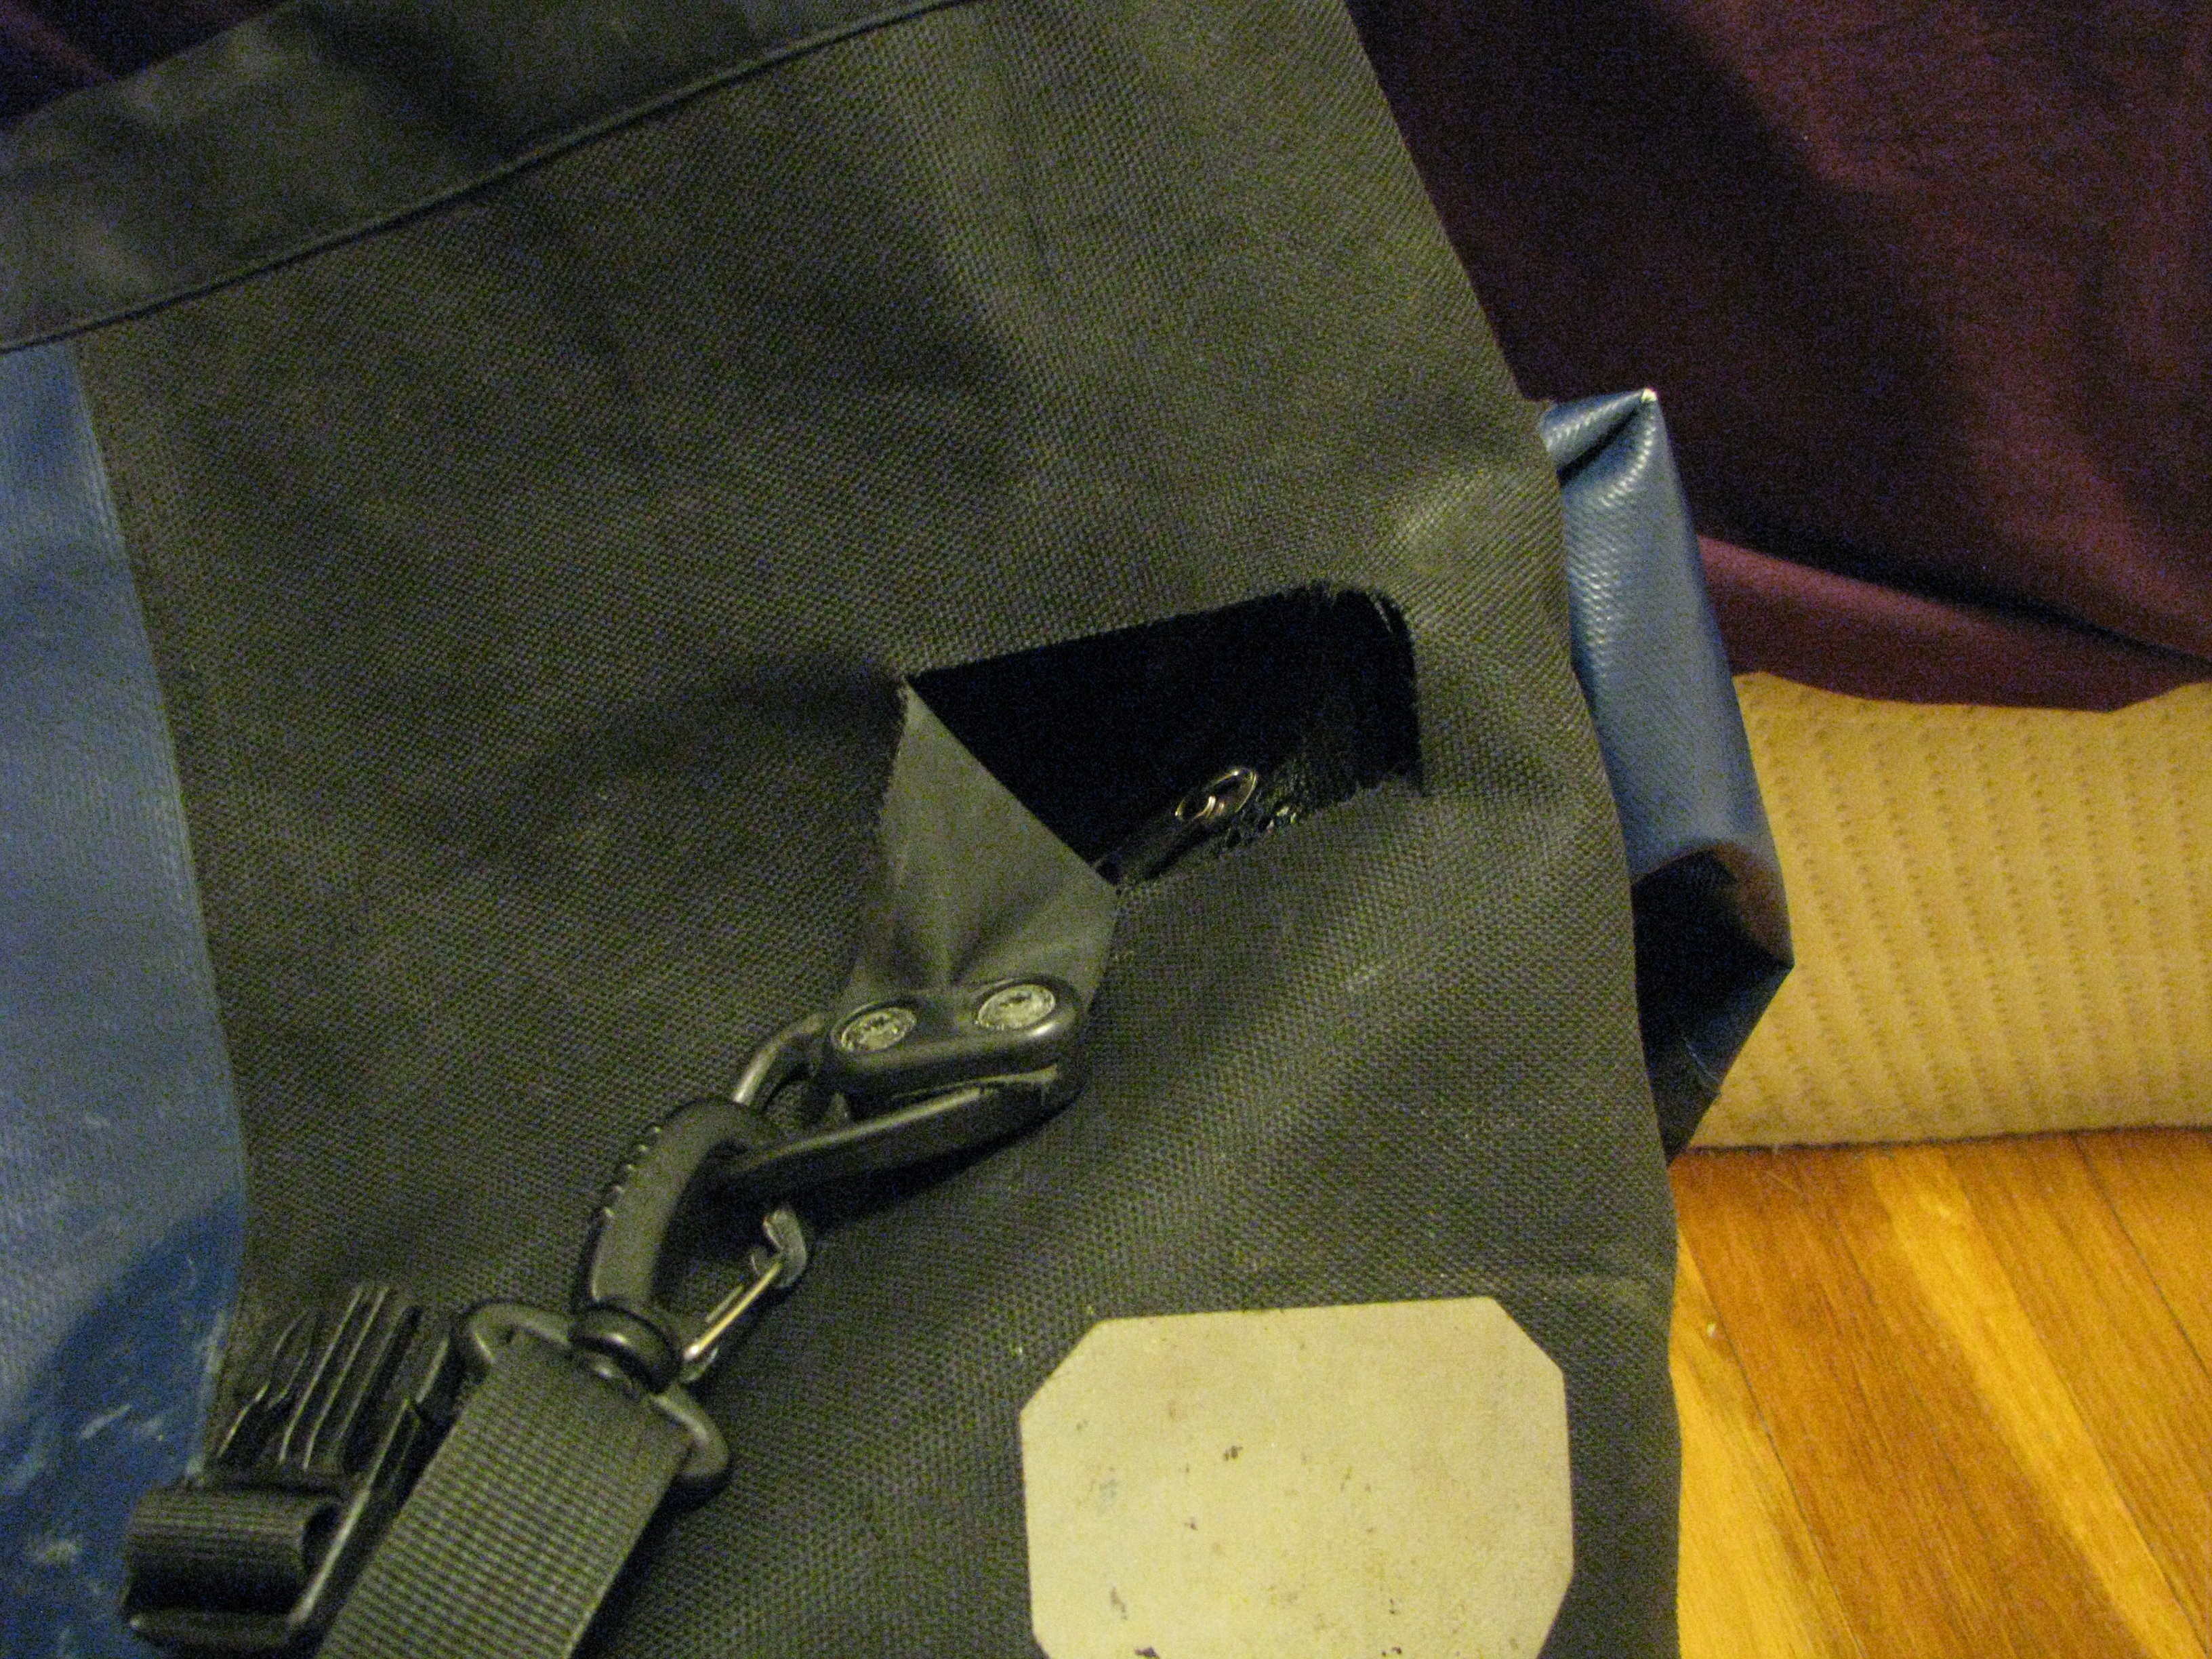
The damage, which I neglected to show back then, looked pretty bad:

But I contacted Ortlieb, counting on their reputation for supporting repairs, and received a heartening reply:
I got the boat repair kit. Although the repair service actually sounded pretty reasonable, I wanted to learn about this technique (solvent welding). The idea is to weld the patch onto the bag by dissolving the PVC on both components with a solvent, rather than gluing it on with an adhesive. It was fiddly and smelly and it took an unreasonable amount of time for me to figure out how to set up the patch to cure under pressure overnight (oh for a bench clamp), but it seemed to be otherwise straightforward.
I also took the opportunity to completely disassemble the bag and clean all the components, of which there are surprisingly many (over 30, if you count the screws.) The tear area on the main body needed to be completely clean for the solvent welding (especially of hand and chain grease), so why not clean everything?
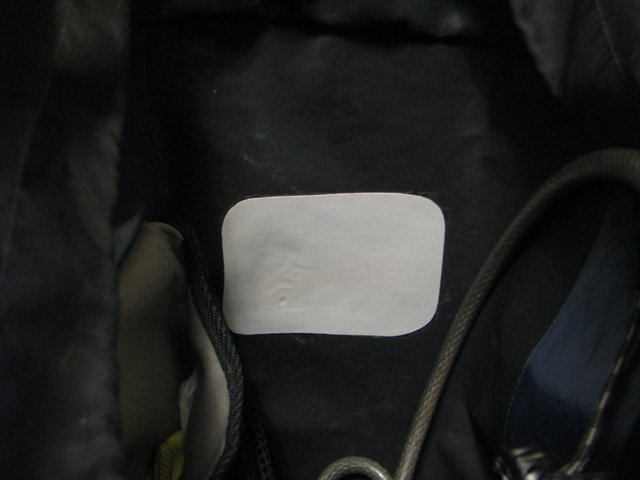
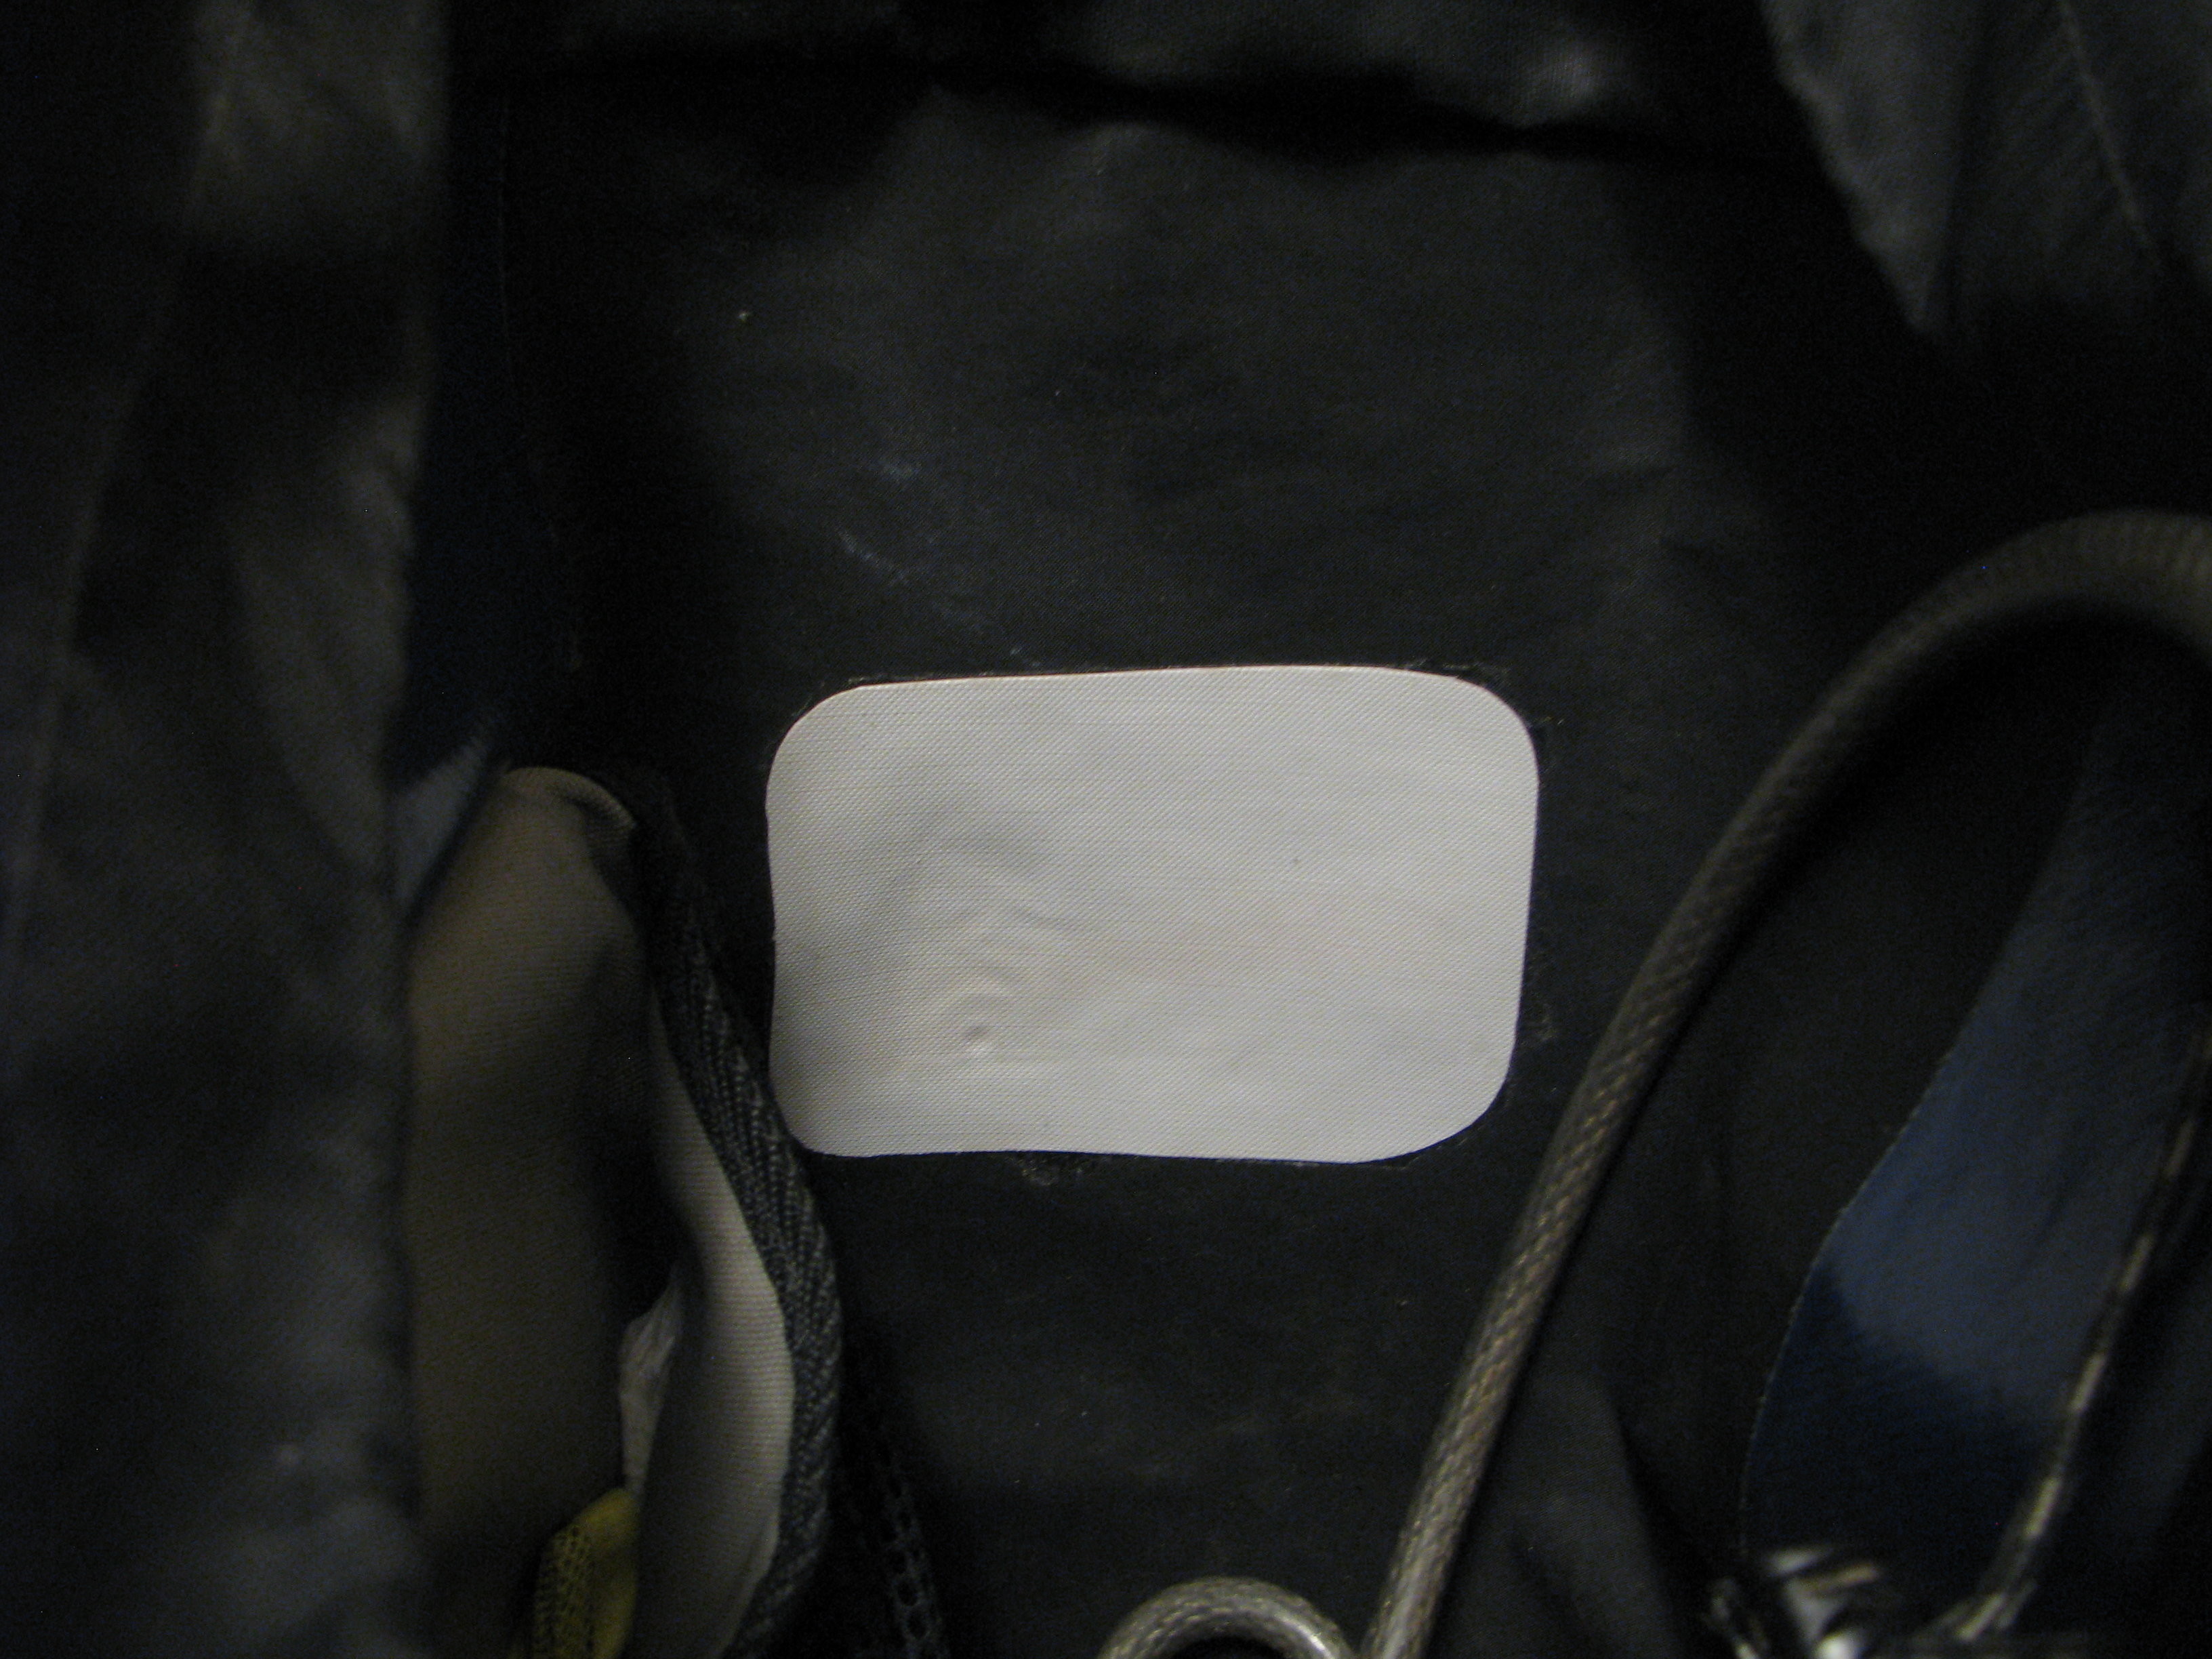
Here's an inside view after the repair; the rounded gray rectangle is the patch:
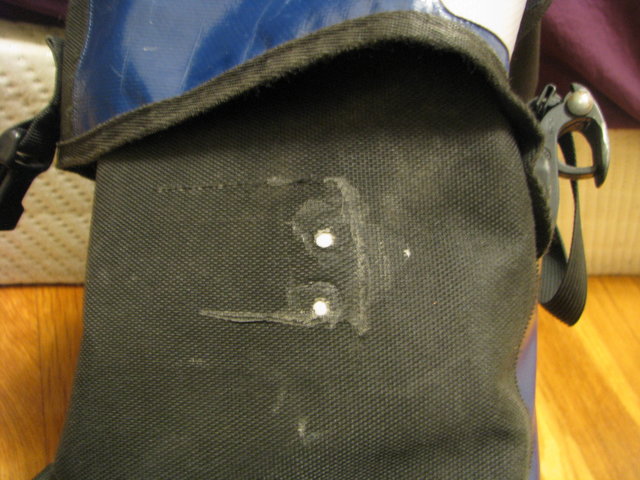
The outside does indeed show scarring, and two holes where the strap anchor used to be:
Now I need to decide where to anchor the strap. If I put it back where it was, it will only be directly connected to the patch and to the torn strip, which doesn't seem great. Going higher is unlikely, since it's already about as high as it can go without interfering with the hood when it closes. Lower, and I risk going below the center of gravity (it's already a bit dicey when I have a large and top-heavy load.)
If I go to the left, towards the front of the bag, I have the advantage that the lower horizontal tear is shorter, so I'll largely be putting strain on the original, uninterrupted fabric below the anchor. If I go to the right, towards the back and the rack, it might be easier to carry, but I'll be pretty close to the short vertical tear, and I'm not sure if that's a problem.
Anyway, it's at least usable on the bike now, even if I have to carry it back and forth like a sack of potatoes at the moment.
Having replaced several parts, and now repairing a hole, I get a feeling of this bag being more like a lifelong companion than just a thing I've bought to last me a few years. It's a good feeling.
The damage, which I neglected to show back then, looked pretty bad:
But I contacted Ortlieb, counting on their reputation for supporting repairs, and received a heartening reply:
Looking at the damage it appears to be repairable. The inner coating of both the blue and black fabrics are PVC. There are a number of solvent based PVC repair kits available in the marketplace. Most are aimed at repairing inflatable PVC watercraft. They will do an equally good job at repairing your pannier.
Here is a link to an example sold through REI:
https://www.rei.com/product/869061/advanced-elements-inflatable-boat-repair-kit
We have a repair team at our US office. They can use heat and pressure to mate like fabric to the inside of your pannier. This service bills at $25 per hour plus the return shipping to your door.
Please note that this is a technical repair as opposed to a cosmetic repair, some scarring may show after the repair is complete.
I got the boat repair kit. Although the repair service actually sounded pretty reasonable, I wanted to learn about this technique (solvent welding). The idea is to weld the patch onto the bag by dissolving the PVC on both components with a solvent, rather than gluing it on with an adhesive. It was fiddly and smelly and it took an unreasonable amount of time for me to figure out how to set up the patch to cure under pressure overnight (oh for a bench clamp), but it seemed to be otherwise straightforward.
I also took the opportunity to completely disassemble the bag and clean all the components, of which there are surprisingly many (over 30, if you count the screws.) The tear area on the main body needed to be completely clean for the solvent welding (especially of hand and chain grease), so why not clean everything?
Here's an inside view after the repair; the rounded gray rectangle is the patch:
The outside does indeed show scarring, and two holes where the strap anchor used to be:

Now I need to decide where to anchor the strap. If I put it back where it was, it will only be directly connected to the patch and to the torn strip, which doesn't seem great. Going higher is unlikely, since it's already about as high as it can go without interfering with the hood when it closes. Lower, and I risk going below the center of gravity (it's already a bit dicey when I have a large and top-heavy load.)
If I go to the left, towards the front of the bag, I have the advantage that the lower horizontal tear is shorter, so I'll largely be putting strain on the original, uninterrupted fabric below the anchor. If I go to the right, towards the back and the rack, it might be easier to carry, but I'll be pretty close to the short vertical tear, and I'm not sure if that's a problem.
Anyway, it's at least usable on the bike now, even if I have to carry it back and forth like a sack of potatoes at the moment.
Having replaced several parts, and now repairing a hole, I get a feeling of this bag being more like a lifelong companion than just a thing I've bought to last me a few years. It's a good feeling.